
Following on from the D-Rig last week, my next rig is one that I have used for a while and is my second choice of rigs when out on the bank, the rig in question is the Combi-Rig. To tie this rig you will need Curve Shank hooks, Fluorocarbon hook length, rig rings, uncoated soft braid hook length, line sinkers and some rig putty.
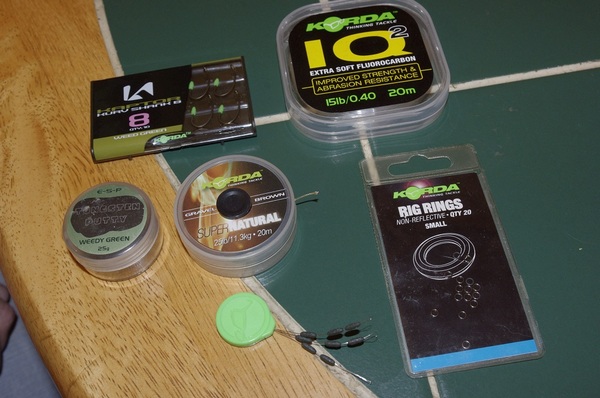
What you will need
To start with take a section of the Braid, in this case I’m using Korda 25lb Supernatural, with this create your hair by making a loop in your line using a granny knot. Then attach a rig ring to the line also using a granny knot, in this case I used 2 granny knots as the ring does have a tendency to slip. Make sure when you put the ring on that there is enough space between the ring and the end of the hair for your bait, I use a Solar Hair Gauge to get the hair just right.
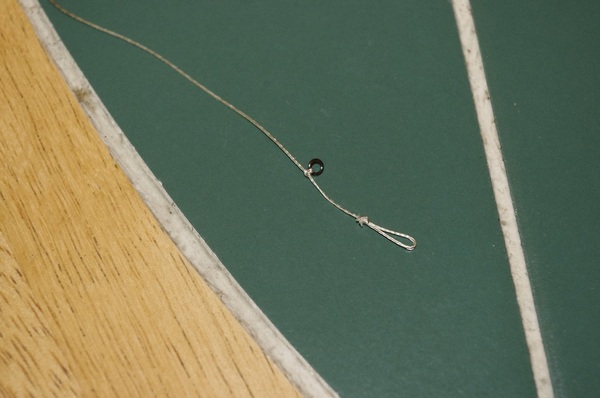
Step 1
You now need to slide the ring on the hook so that is roughly opposite where the point is, this is to ensure that the ring doesn’t slide round the bend and off the end of your hook, you can test this by moving the ring round the hook to a point where it can no longer slide further round the bend. Once you have found this point you can then tie your knotless knot.
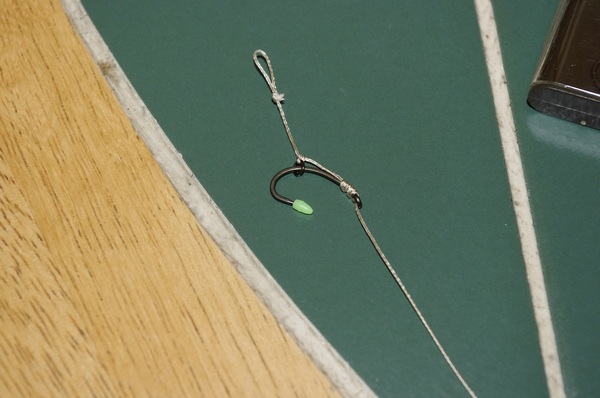
Step 2
Next we need to attach the braid to the fluorocarbon using a knot called the Albright knot. Take a section of your fluorocarbon and at one end make a loop, if you squeeze it a little it will kink and will make it a bit easier to make the knot. Now pass your braid through the loop, keeping the hook close to the fluorocarbon, don’t worry if it looks too short, it will extend when the knot is tightened.

Step 3
You now need to wrap the braid around the loop 6-7 times going down the loop and then back up the loop 3 times, once you have done this pass the tag end of the braid back through the end of the loop following the same direction it came from, if you go through the loop the wrong way it will make the lie kink.
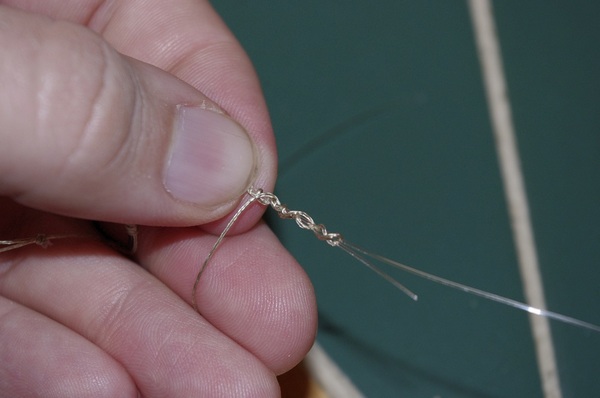
Step 4
Once the line has gone back through the loop slowly pull the braid and fluorocarbon in opposite directions along with the tag ends to tighten the knot, make sure you wet the knot before you pull it tight to ensure it tightens correctly and doesn’t slip.
Step 5
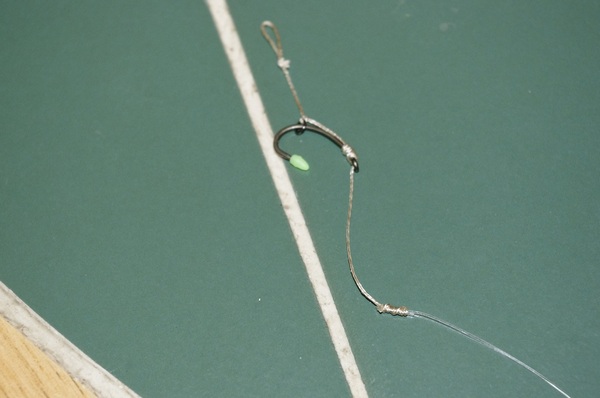
Since your using braid to attach the hook it’s best to add some shrink tubing to the eye of the hook, this will create a more aggressive angle and will help to catch in the bottom lip of the carp. It’s also worth adding a line sinker at the same time, this can be pushed up the fluorocarbon next to the knot. This will help pull the hook down when it’s in the mouth of the carp, helping to set the hook. Rig putty can also be added. To finish the rig simply tie on your ring swivel to the end of the fluorocarbon.
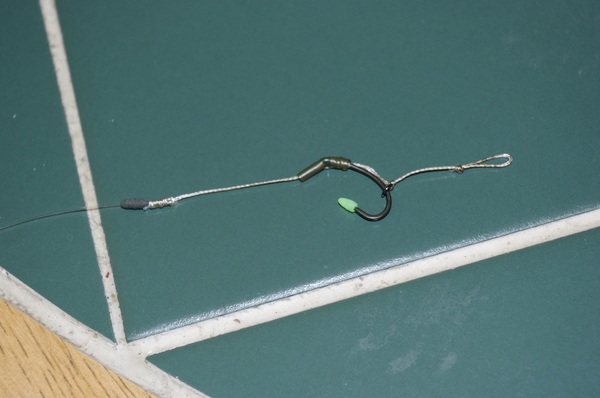
Step 6
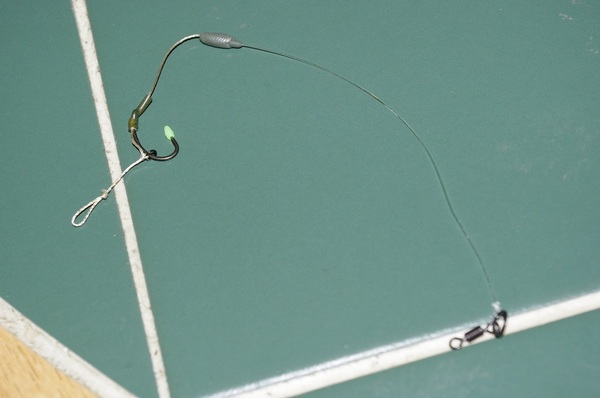
Step 7
The Combi Rig is best suited to slow sinking baits but can also be used with pop ups and slow sinking baits, the rig ring helps the hook bait to slow out of the carp mouth when they try to eject the hook and the rig putty on the knot will help pull the hook down.
Steve Bedford
http://www.youtube.com/watch?v=jm3chB_ckeg Here is a video I did several years ago showing how to tie the combi rig knot for anyone struggling to follow the knot above.