
In this second of a series of articles, Angling Lines field tester and photographer Mike Linstead provides a few tips on self-take photography and the pros and cons against trusting someone else to get that perfect shot.
You can read part 1 of this series here – Part 1: Preparation, Location and Framing.
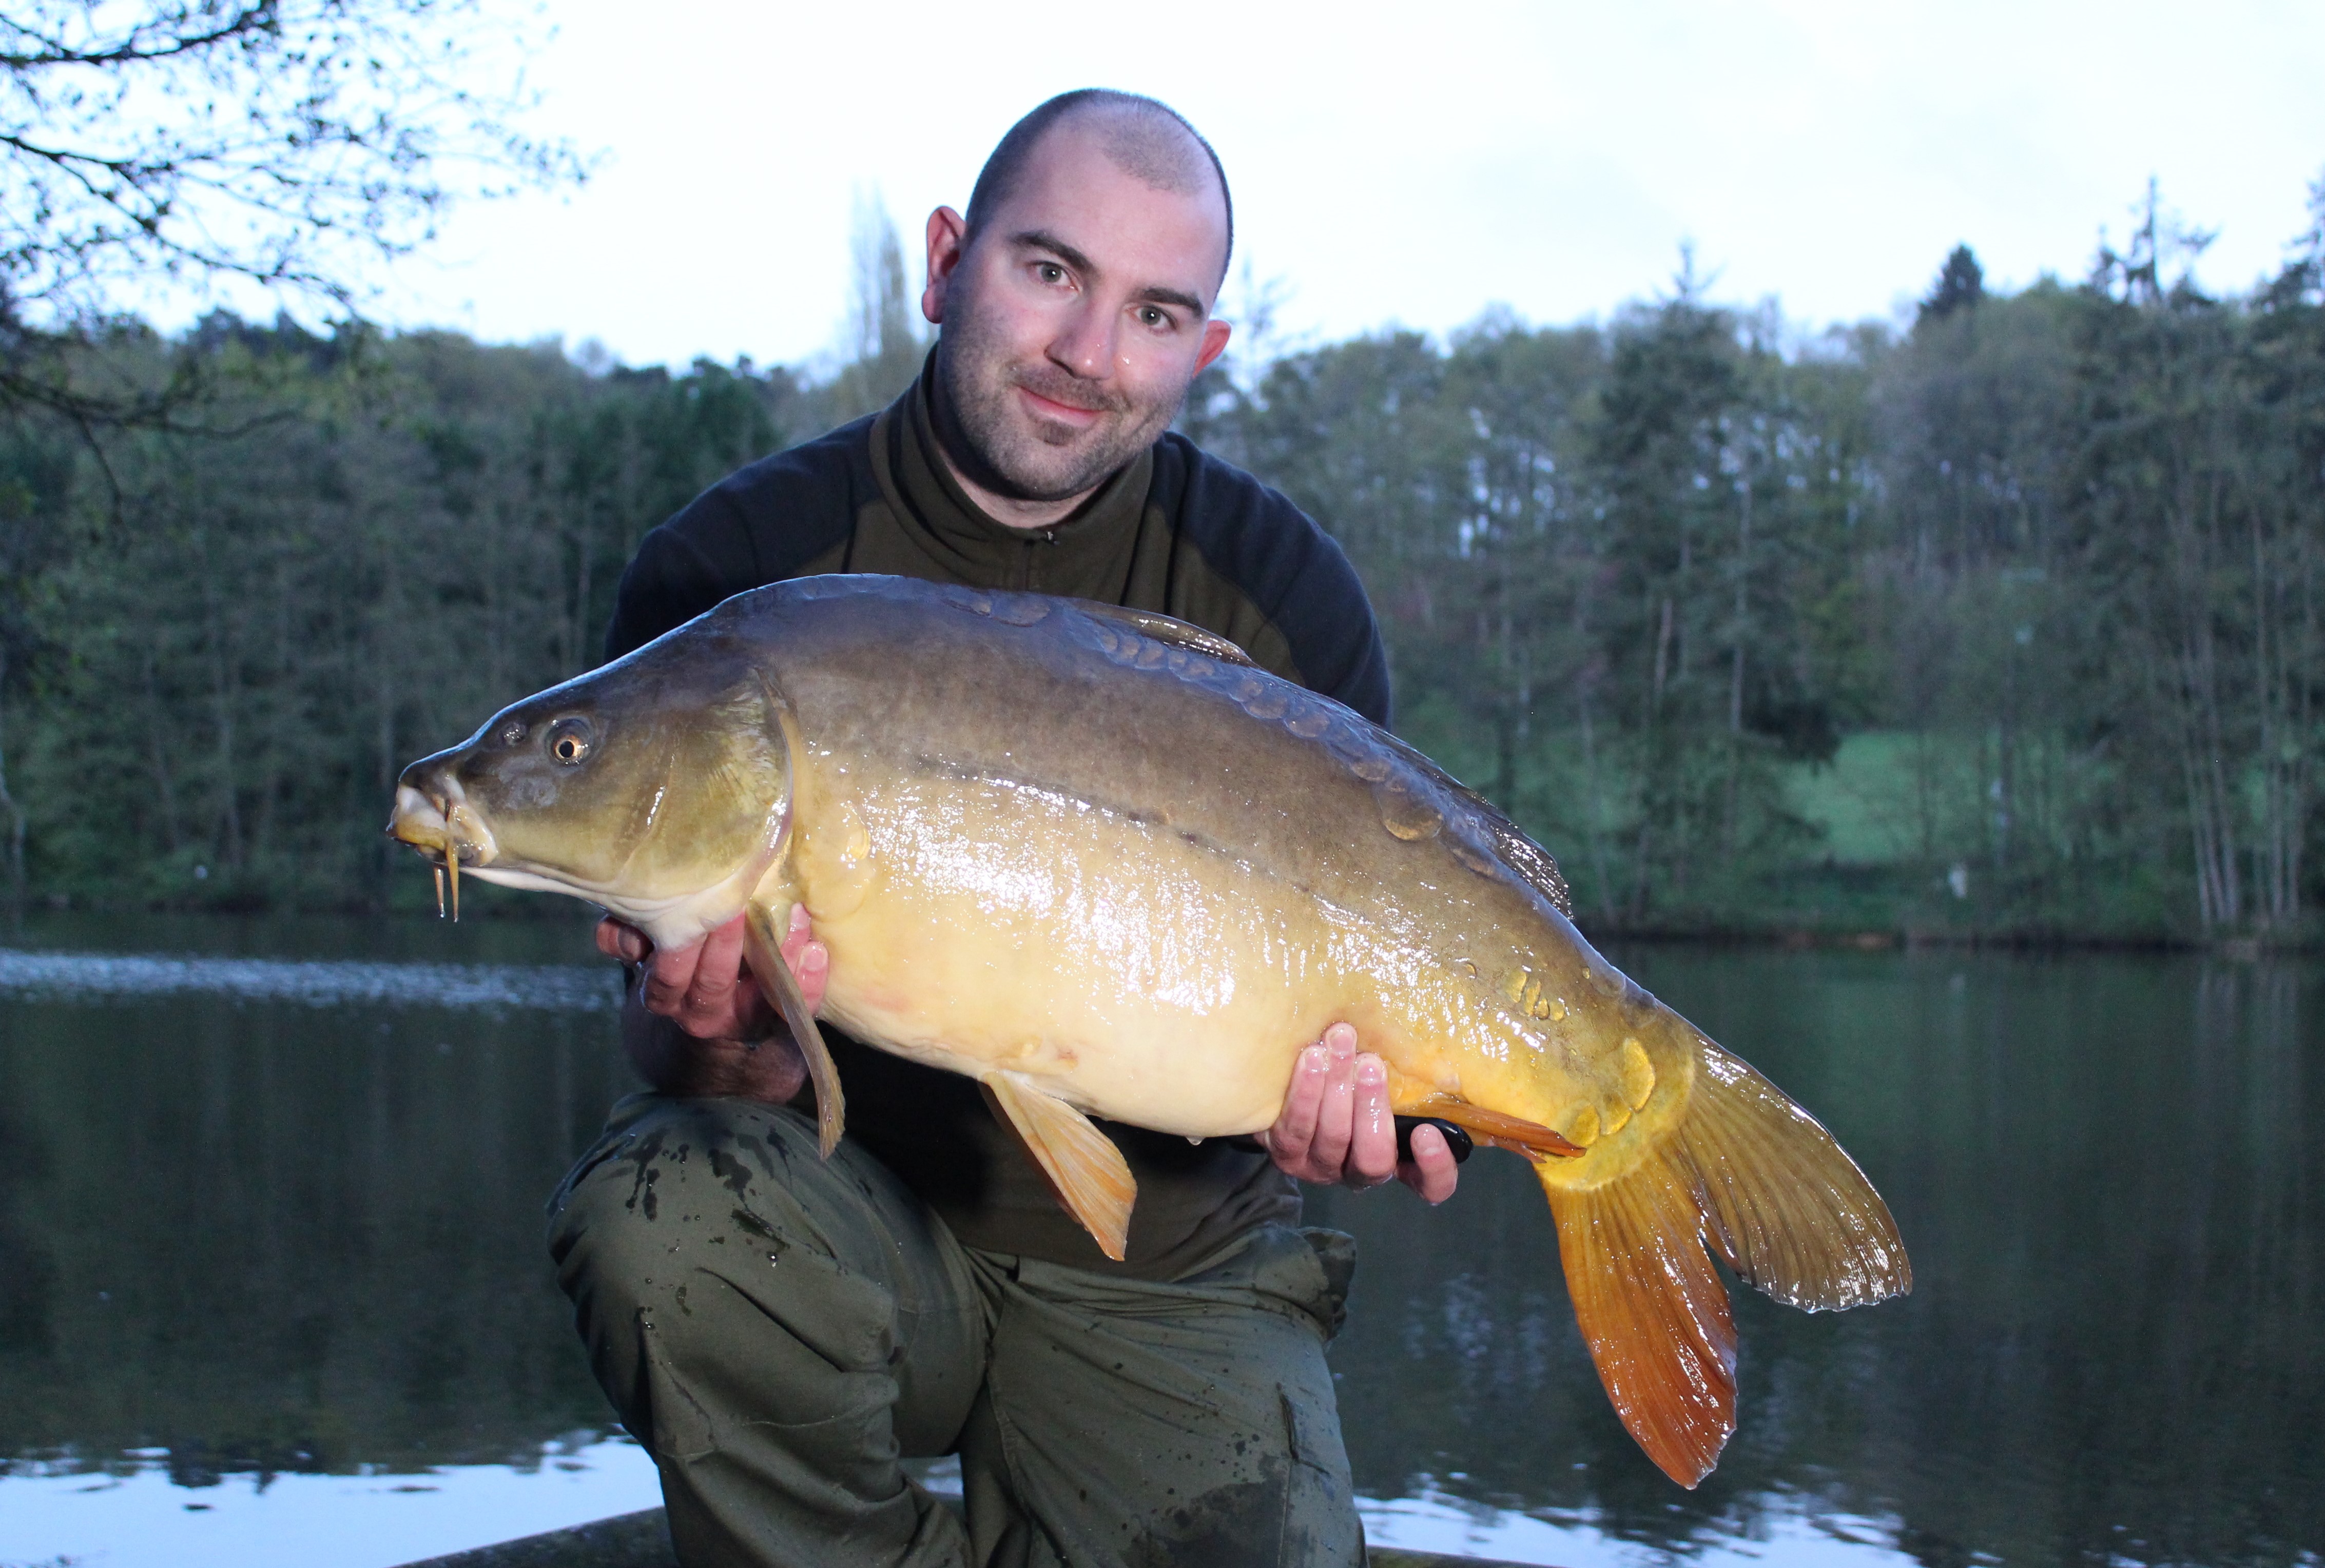
For some people, getting a brilliant capture shot is one of the most important parts of carp fishing.
This is the memory that will live on and ensuring the moment is captured exactly as you’d like it to be is something that needs a lot of focus.
Being a competent photographer I’m confident in my ability to take a good capture shot for anyone, but what happens when you’re the lucky one holding the fish, instead of the camera?
You’ve either got one of two options: self-takes or ask someone to do it for you.
There are challenges and risks with both options but sometimes needs must and you’ve got to be able to stack things in your favour to get the shot you want.
Here’s a few tips I’ve picked up along the way that just might help you to overcome this particular challenge.
Self-takes
On the face of it self takes are easier said than done. Trying to get a brilliant shot on your own can offer up some unique challenges but it is possible to get some stunning pictures, if you’re a bit of a lone wolf and prefer going it alone.
Practice, practice, practice
There is no substitute for experience and that comes from practicing your technique. It might seem obvious to point out I know but quite often it can be a while between fish, especially if your time on the bank is limited like mine.
Whenever I get a new bit of kit, be it a lens or anything else I always try to make a bit of time to practice somewhere.
That doesn’t necessarily mean having to head out fishing, you can practice in your back garden even, so long as you’re not too bothered about the neighbours throwing you a few raised eyebrows.
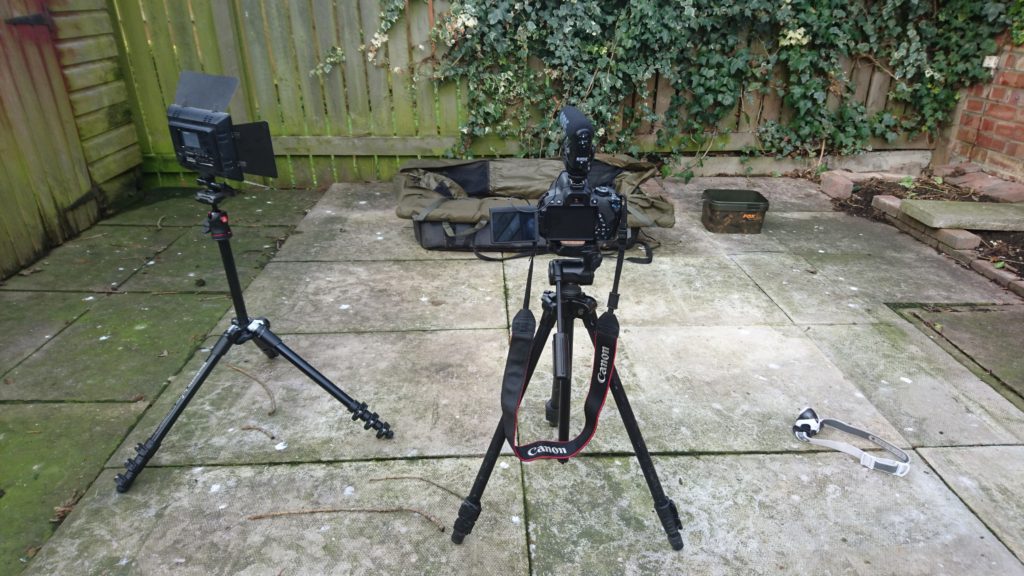
Practicing the self-take set up at home.
There are many aids to help with self takes, such as remotes, pressure pads to kneel on and also voice activated apps for smart phones.
Whichever one you opt for I’d recommend getting used to the functions of it at home, before you venture out on the bank. Testing your kit should not be done whilst a fish is waiting in a retainer sling so make sure you familiarise yourself with your kit before you wet a line.
Field Trials
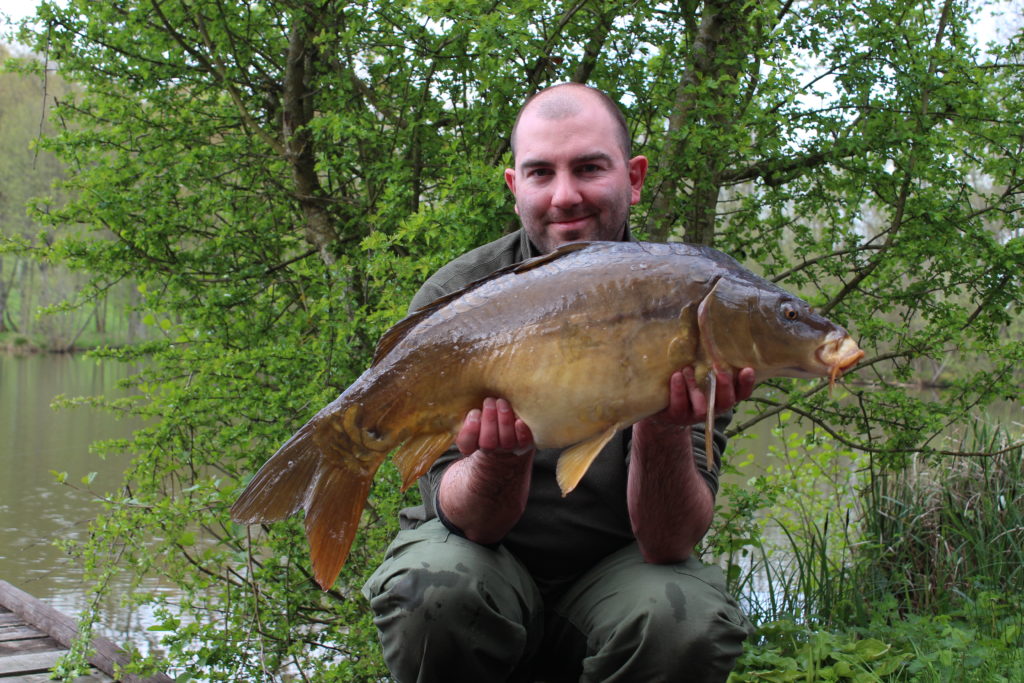
Once you’re more used to the process involved in whatever kit you’ve chosen, what I’d then recommend is to maybe think about doing some ’field trials’ perhaps a day session on a commercial water, where you stand a good chance of catching a few fish. Generally speaking commercials are geared up to help you catch (although that doesn’t always work I know) and the fish are not normally of the size you’ll be aiming to catch in France and are therefore much easier to handle.
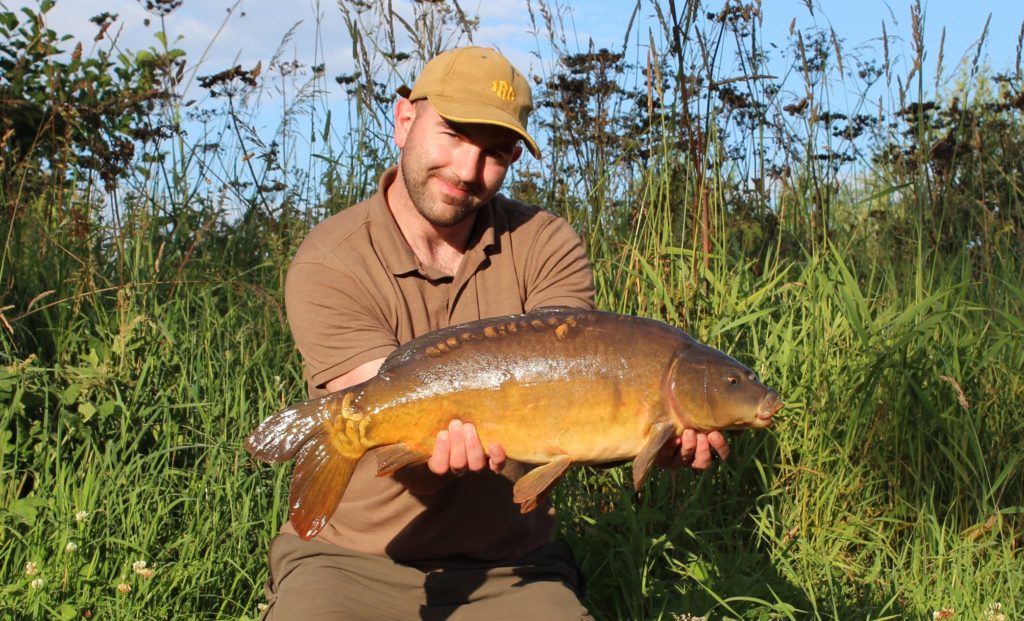
“Field trials” with the self-take kit on some smaller UK carp.
Taking the opportunity to test your technique on a few smaller fish will give you an almost intensive course and help you to iron out any parts of the process for when the time comes to snap a shot of your fish of a lifetime in France.
Preparation is everything
As I mentioned in the first part of this article series, being prepared to take your shot is crucial, never more so than when you’re on your own.
I have everything set up an ready to go in the event of catching a fish. If I’m night fishing then I have the camera settings already selected to match the light at the particular time of day, similarly when I know it’s getting dark I spend a few minutes setting things up so they are ready and waiting in the bivvy to grab at a moments notice. Knowing where your camera remote, lights and tripod are can stop you getting flustered and enable you to focus on getting a good shot.
I always keep things in exactly the same place in my bivvy so that if I get a fish in the middle of the night, I almost rely on muscle memory to arrange things quickly and efficiently.
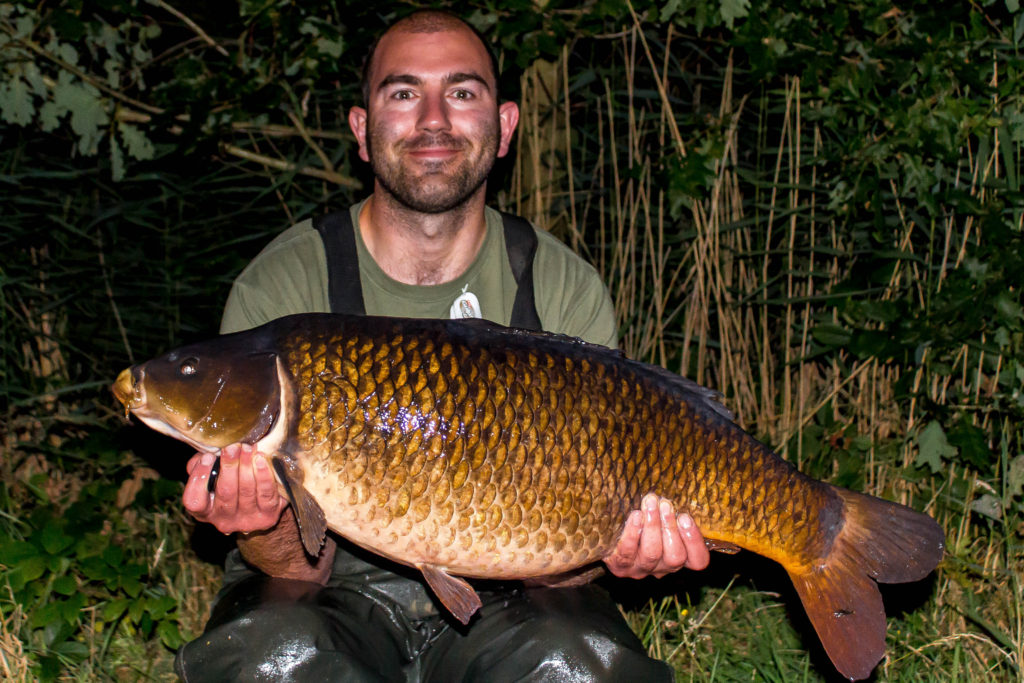
Having the kit ready is vital to get a good self-take shot, especially at night.
It might seem a bit of a faff but I bet the majority of you do the same with things like headlamps and footwear at night in anticipation of a bite, so extending your preparation to your photo kit is just as important in my opinion.
Be Safe
There is a plethora of safety equipment on the market nowadays and the emphasis on fish care has never been more in focus.
The cost of retention slings and mats no longer make safe handling an expensive practice and it is vital that, if you are preparing a self-take shot, you must give the fish time to rest and leave it in the retainer until the moment when you are ready to take the picture.
NEVER compromise the safety of a fish just for a photograph, it‘s simply not worth it.
Get everything set up and ready to go then, at the last, moment bring the fish into the equation.
I’ve been in the situation in the past where I’ve had trouble handling a fish on my own and just not got the photo I really wanted.
As tempting as it was to keep going until I got the shot, I put the fish back as it was not being very co-operative and I simply couldn’t justify the safety of the fish for the sake of a slightly better picture.
Believe it or not the fish in question wasn’t even a carp but my first double figure bream in the UK. Every creature we catch deserves our respect and care, whether it‘s your target species or not, so do what you can and put it back as quickly as possible.
A shocking picture of my PB bream, but it wasn’t worth risking the safety of the fish for a self-take when it was being uncooperative.
Trusting someone else
This is a bit of a tricky topic to cover, but trusting someone to take your pictures is something that I’ve noticed a lot of people don’t really consider in much detail.
I’ve had loads of different types of people take pictures for me in the past, from dog walkers, passing cyclists, other anglers and close friends. Whilst I’ve no real objection with asking for help, you always run the risk of the pictures not turning out how you’d like.
I try not to let anyone take an important picture of me that I don’t absolutely trust with a camera, simple as that. I’m lucky to have the self-take gear that makes me self sufficient but I understand not everyone has that option.
However there are things you can to help improve the outcome.
Take Control
In this situation it’s important to remember one thing, this is your moment to enjoy so make sure you’re in control.
If you’ve asked someone else for their help then don’t be afraid to take control of the situation and take a minute or so to talk through exactly what you want them to do.
Bear in mind that passers-by probably won’t have the slightest clue how it works so it will need spelling out to them. Also be aware that they may also be totally stunned by what you catch as I know most people I see in the UK have no idea what a big fish looks like until they see one in the flesh!
I would suggest that, whilst the fish is resting, you talk through the steps you are going to take, I.e. let them know you are going to carry it to your unhooking mat and hold it low to the ground.
Be confident to instruct them what they need to do, most people will appreciate that.
Tell them to bring the camera to your height and not stand and take the picture looking down.
Tell them what you would expect to see in the shot and that you need space around you and the fish to frame the shot properly (see my point about cropping afterwards from the first part of this article).
Get them to check for shadows across the picture and always get them to give you a quick look at the pictures they have taken so you can quickly grab one or two more if they aren’t what you were after.
It’s always a bit risky to ask someone else but if you follow a few of the points above then it’ll certainly help.
In the next part of this series of articles I’ll be taking a look at lighting but for now, I hope these points have been useful and help you to create some stunning capture shots.
Mike Linstead
You can read part 1 of this series here – Part 1: Preparation, Location and Framing.
Comments