
In the third and final part of this series, Angling Lines field tester Mike Linstead talks about the importance of getting the lighting right for your capture shots.
You can read part 1 of this series here – Part 1: Preparation, Location and Framing and part 2 here – Part 2: Self Takes Vs Trusting Someone Else
Light is the most vital element when it comes to photography and is an incredibly complex, even scientific area to discuss.
I won’t even begin to get into anything too technical here because, if the truth be told, I’m still learning such a lot about it myself that it’s hard to really go into the detail.
However, there are a few simple things you can think about to improve your photos when considering the lighting.
As I alluded to in the first part of this series, when it comes to choosing a location to take your picture, you need to judge where the light will be best at certain points in the day.
This isn’t always easy, as factors such as tree cover and the direction of the sun’s travel to the lake will have an impact.
Just to prove a point, here is a shot that didn’t go quite right at La Fonte, as the sun appeared over the hill behind the swim during the early part of the morning and caused a mottled shadowing through the trees. So we don’t always get it right.
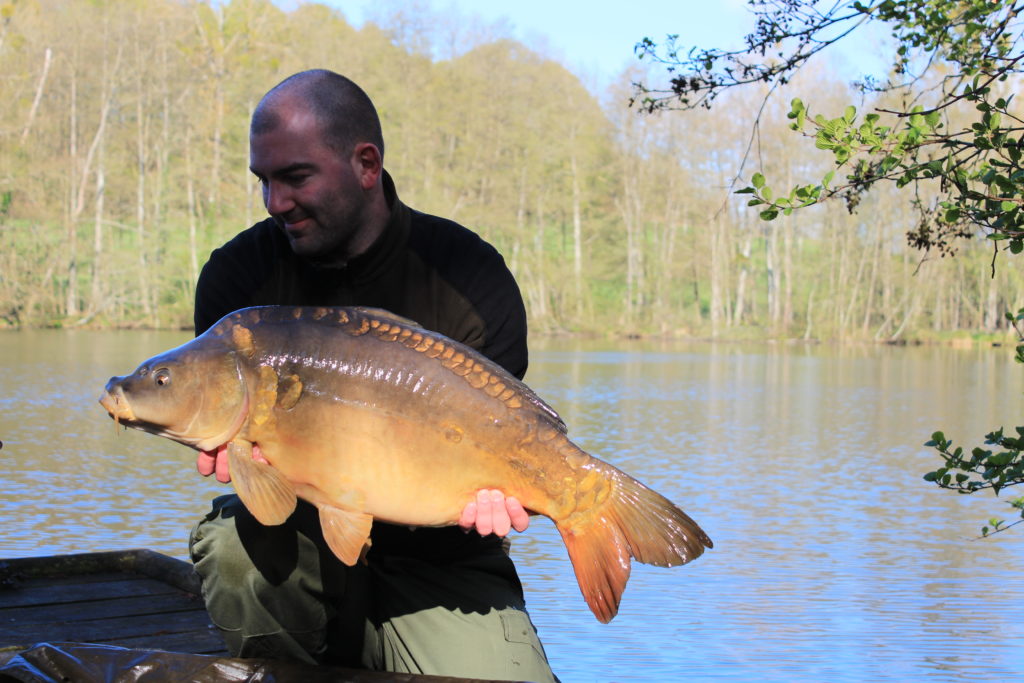
The light was particularly tricky in the early morning at La Fonte. This shot didn’t quite go according to plan
A tip I have picked up from a few photographers is to try and position your shot so that the sun is roughly on a 45 degree angle to one side of the subject, I.e. shining from the left or the right of the person holding the fish, as this will make for a more natural composition to your shot.
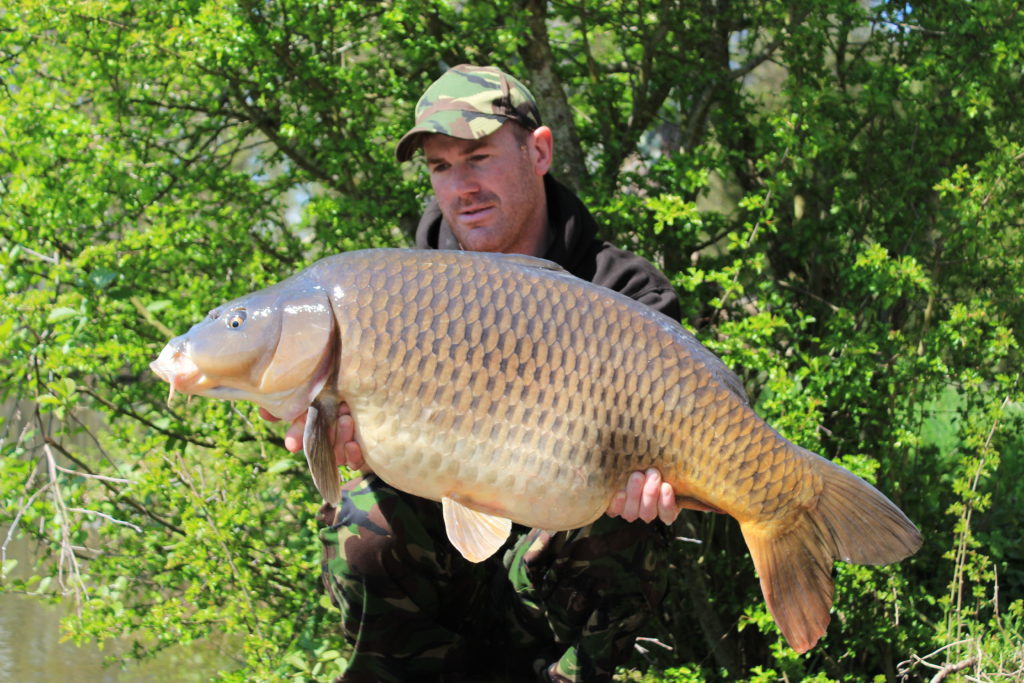
Having the main source of light at a 45 degree angle to the subject makes for a more naturally lit shot.
I would advise against having the sun either directly behind the subject in the picture as this can cause a number of problems, including overexposing your shot and creating lots of shadow, particularly on the angler’s face.
It’s also advisable not to have the sun light directly behind the photographer either, as this can cause an unsightly shadow to be cast across the shot from the photographer and if it’s a particularly bright day you might end up squinting in the shot which doesn’t look great.
Lighting at Night
Getting the lighting right at night can be quite troublesome and again it’s a technical subject but there a few simple things you can do to massively put things in your favour.
My first bit of advice (bear with me whilst I have a micro-rant) is to remove any light source that points at the camera…in other words…
TAKE YOUR BL##DY HEADLAMP OFF!
It breaks my heart to see so many pictures of incredible fish that have been caught which are ruined because the angler has kept their high-powered, special-forces-tactical-beacon, brighter than the sun, all-signing-all-dancing headlamp on in the shot…..why?!!!
Pointing a high powered source of light at a camera in pitch black is a recipe for disaster and all your hard work will be totally ruined.
Instead, my advice is to keep it on whilst securing the fish on the unhooking mate or cradle then quickly pop your headlamp on the floors slightly in front and to the side of the shot pointing roughly 45 degrees and upwards back at yourself.
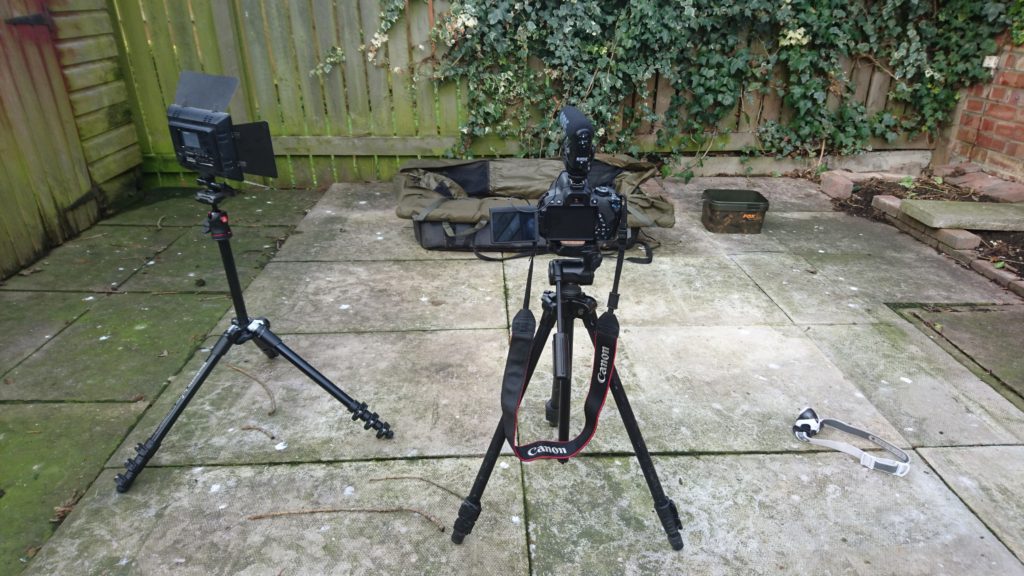
Note the headlamp on the floor to the right hand side of the camera
You are in effect then adding an additional light source to the shot which can help fill in an area that otherwise might be in shadow. It takes a little practice but believe me it’s a vast improvement to pointing it down the lens!
Camera flash is also a big discussion point and, whilst the inbuilt flash is fine, external flash units make a massive difference but I understand most anglers won’t be able to afford an external flash unit.
I don’t own one personally and instead use a relatively inexpensive LED light on a separate tripod, which is pointed at around a 45 degree angle from the subject and a few feet to the side of the camera when shooting capture shots at night.
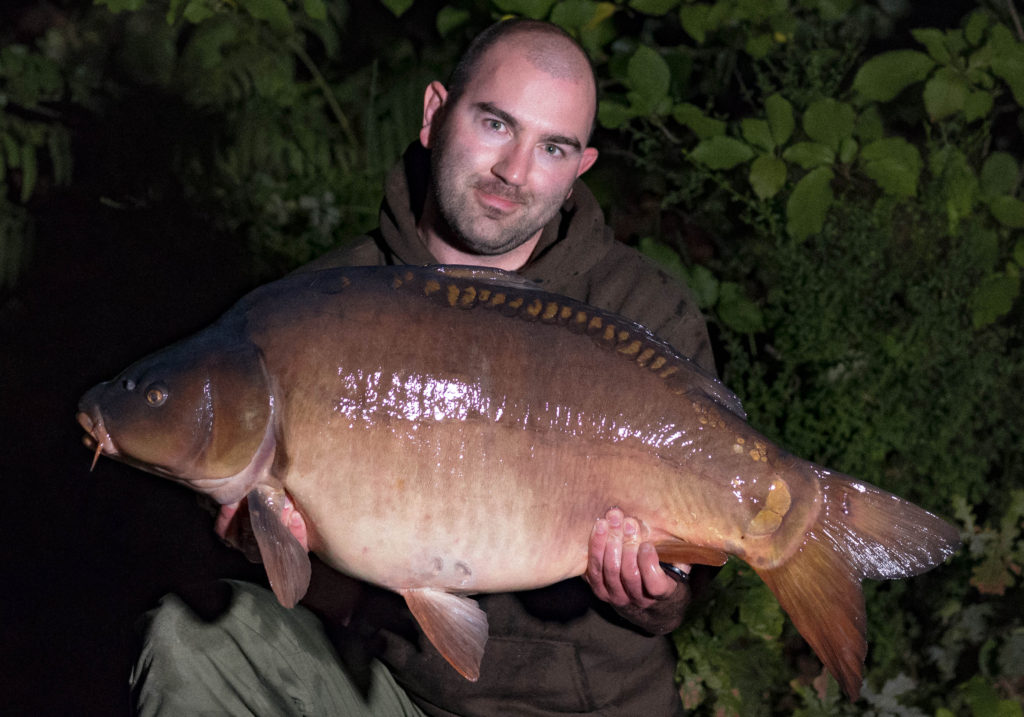
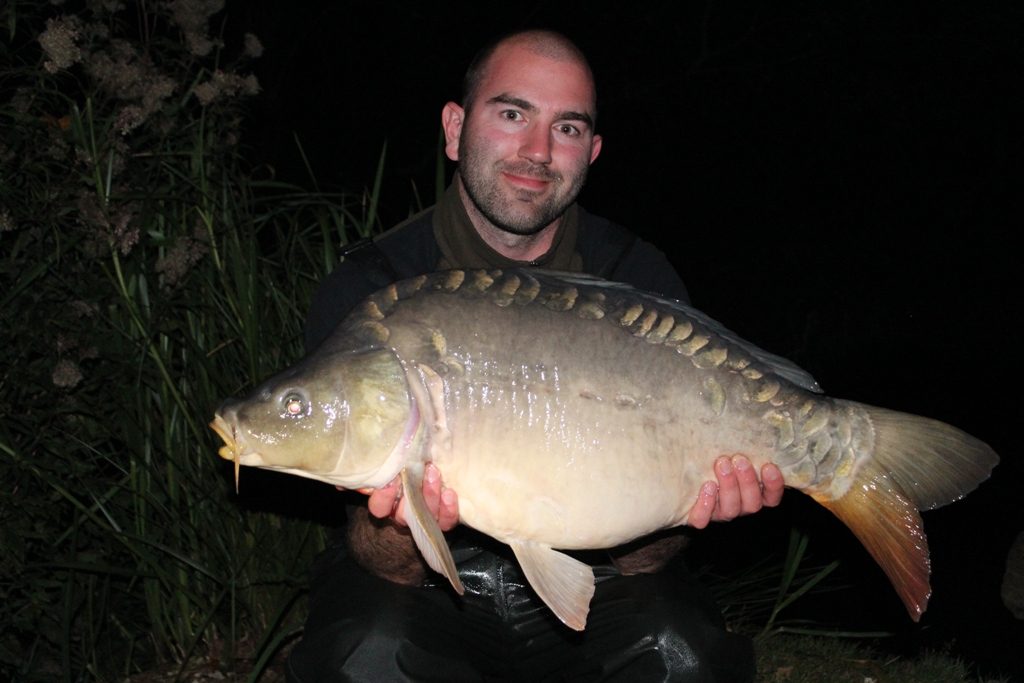
This shot was lit with a combination of a LED spotlight and my headlamp
There are pros and cons to this approach and better photographers than me will wince at me even suggesting this method but I do have a good excuse!
Because I shoot both stills images and film of my captures I have a need for an external microphone mounted on the camera which means I can’t use the in built flash. Also as flash is completely useless for moving images, I need a continuous external light source so that is the only compromise I can make for shooting both stills and films.
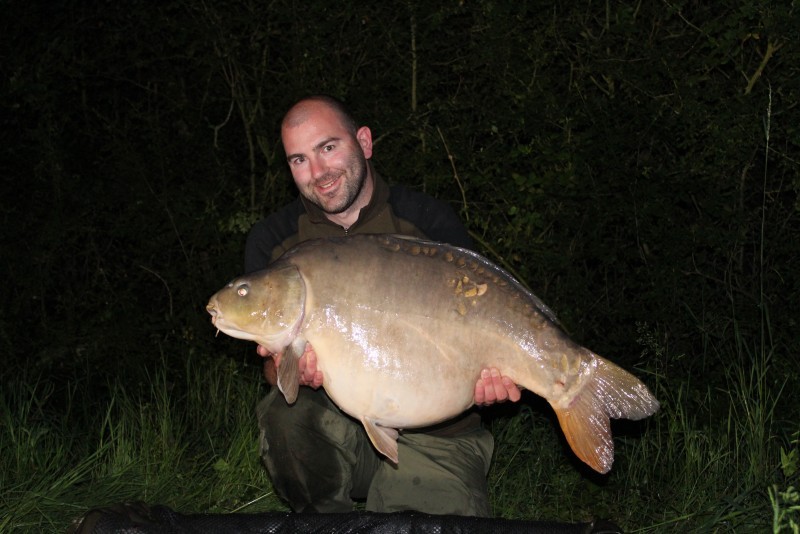
This shot from Blue Lake is of my current PB from Blue Lake and I used an external LED Light to illuminate the shot for both stills and film.
There are tonnes of cheap, lightweight LED lights available on the market which can make such a massive difference to your night shots. I’d suggest giving one a go to begin with then, as your experience builds, decide for yourself whether you want to graduate to using an external flash.
Practice!
Whichever method you opt for I will say the same as I did in my previous piece about self takes…practice, practice and practice some more!
Get out in the garden after dark and practice how best to set up the kit, spending an hour after work (particularly as this time of year when it gets dark earlier) will make a massive difference when the time comes to get a picture of that new PB.
Mike Linstead
You can read part 1 of this series here – Part 1: Preparation, Location and Framing and part 2 here – Part 2: Self Takes Vs Trusting Someone Else
Comments